
If you’re a makeup enthusiast, then you know how important it is to keep your brushes clean. Not only does it ensure a flawless application, but it also helps prevent breakouts and other skin irritations. However, cleaning your brushes can feel like a chore. To simplify the process, we’ve put together a step-by-step guide on how to wash makeup brushes. So, grab your cleaning supplies and let’s get started!
Importance of cleaning makeup brushes
Regularly cleaning your makeup brushes is an essential part of your beauty routine that should not be overlooked. As you use your brushes to apply various liquid, cream, and powder makeup products, they accumulate dirt, oil, and bacteria over time. These buildups not only compromise the performance of your brushes but can also be harmful to your skin. By washing your brushes, you remove these potentially harmful components, ensuring you’re applying clean makeup to your skin each time. Cleaning your makeup brushes at least once a week, and spot cleaning daily if possible, will help keep your brushes in top condition and improve their longevity. Plus, it will give you optimal makeup application and the truest color payoff. So, next time you’re tempted to skip washing your brushes, remember the importance of regular cleaning for your beauty routine and hygiene.
Choose the Right Cleaner for Your Brushes
Once you’ve wet your brushes, it’s important to choose the right cleaner for them. Using the wrong product can harm the bristles and leave your brushes streaky or discolored. For a gentle yet effective cleaning solution, consider using a mild soap or specially formulated brush cleaner. If you’re in a pinch, regular dish soap can work as well. Whichever cleaner you choose, be sure to swirl your brushes in the water until they’re thoroughly clean. Don’t forget to rinse them off completely to avoid leaving any residue behind. Choosing the right cleaner is a crucial step in keeping your makeup brushes in top condition and ensuring flawless application every time.
Wet Your Brushes
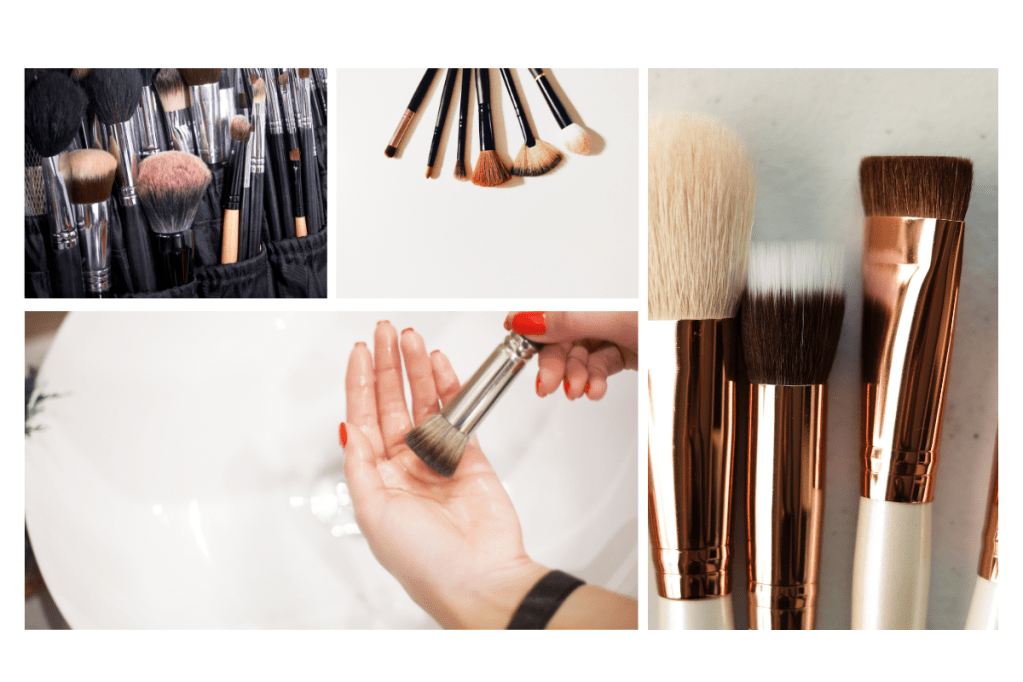
Once you have chosen the right cleaner for your makeup brushes, it’s time to wet them thoroughly. Starting by running your brushes under warm water, avoid getting water on the ferrule as it can loosen the glue that holds the bristles together. Be sure to hold the brush so that the bristles are facing down, allowing the water to wash away any makeup residue. Gently swirl the brush in the lukewarm water until the water runs clear. You can also apply a pea-sized drop of soap or cleaner onto the brush to ensure a deep cleanse. Rinse and repeat until your brushes are clean and free of any leftover product. Remember, proper washing of your makeup brushes not only extends their lifespan but also helps prevent breakouts and other skin irritations.
Apply Soap or Cleaner
Now that you have wet your brushes, it’s time to apply the soap or cleaner. The best and most thorough method for cleaning your tools requires water and a gentle soap or shampoo. It’s important to choose the right cleaner for your brushes depending on the type of bristles and products you use. Liquid dish soap is a potent cleanser for brushes caked in makeup product residue. For synthetic brushes used in cream-based products, degreaser dish detergent soap like Dawn is a popular choice. Alternatively, you can use a solid brush cleaner like the Jenny Patinkin wash. Swirl the brush around the soap pan and create a lather. Once you’ve applied the soap or cleaner, it’s time to swirl your brushes in water to rinse off the residue. Proper cleaning helps prevent bacteria growth, which can lead to breakouts and skin infections from using dirty brushes. Hence it’s important to follow this cleaning routine regularly to help maintain the hygiene and longevity of your makeup brushes.
Swirl Your Brushes in Water
After applying soap or cleaner to your makeup brushes, the next step is to swirl them in water. This is important because it helps rinse out any remaining product and ensures your brushes are thoroughly cleaned. You can do this by placing the bristles under running water or by gently swirling them in a container of clean water. Remember to keep the brush head facing downward and to avoid wetting the handle and ferrule. Ensure you swirl the brushes long enough to get the soap down into the bristles and then rinse them with warm water. Repeat the process until the water runs clear to ensure all traces of makeup and soap are removed. Swirling your brushes in water is an essential step in properly washing your makeup brushes and ensuring they remain clean and hygienic for your next use.
Apply Shampoo or Brush Cleaner
After wetting your brushes and swirling them in water, the next step is to apply shampoo or brush cleaner. Fill a bowl with lukewarm water and add a squirt of shampoo or a few drops of brush cleaner. Gently swirl the brush tip in the water, being careful not to saturate the brush handle. Alternatively, you can apply shampoo directly to the bristles and lather it up with your fingers. It’s important to choose a gentle, sulfate-free formula that won’t dry out the bristles. Once you’ve worked the shampoo or cleaner through the bristles, rinse thoroughly with lukewarm water until there are no suds left. Repeat the process as needed until the brushes are completely clean. Properly cleaning your makeup brushes will help keep them in good condition and ensure a flawless application every time.
Rinse and Repeat
Once you’ve applied soap or cleaner to your brushes, the next step in your cleaning routine is to rinse them thoroughly. It’s important to ensure that all the soap and grime from your brushes are washed out, so repeat this step a few times. Run the bristles under water with the makeup brush head facing downwards, making sure to avoid wetting the handle. Keep rinsing until the water runs clear, indicating that all the cleaning solution has been removed. If necessary, repeat the soaping and rinsing steps until your brushes are perfectly clean. Once they’re rinsed, gently squeeze out the excess water from your bristles before moving onto the final step of drying. By taking the time and effort in rinsing and repeating, you’ll ensure that your brushes stay in optimal condition and keep providing you with perfect makeup application results.
Dry Your Brushes Properly
Once you have finished thoroughly rinsing your makeup brushes, it’s essential to dry them correctly. One effective method is to lay your brushes flat on a clean towel and let them air dry for 6 to 12 hours or overnight. Make sure to keep the bristles pointing downward to avoid any water from getting into the ferrule or handle. Alternatively, you can use a silicone cleaning pad like J. Cat Silicone Pad Brush Cleaner to remove excess water from your brushes and speed up the drying process. A common mistake people make is leaving their brushes in humid environments which can lead to the growth of bacteria and mold. Therefore, it’s crucial to store your brushes in a dry and cool environment after every use. Regular cleansing and proper drying of your makeup brushes not only extends their lifespan but also ensures a hygienic and flawless application every time.
Avoid Leaving Brushes in Humid Environments
It is important to avoid leaving brushes in humid environments after cleaning them to prevent the growth of bacteria. Once the brushes have been thoroughly cleaned and rinsed, gently squeeze the excess water out of them and reshape the bristles. Then, lay them flat on a clean towel to dry completely. It is best to avoid drying them in the bathroom, where humidity levels can be high, as this can encourage the growth of bacteria. Instead, find a well-ventilated area to let your brushes dry completely before storing them away. Properly caring for your makeup brushes is not only important for maintaining their quality but also for the health of your skin. By following a regular cleaning routine, you can avoid breakouts and infections caused by bacteria buildup.
Store Your Brushes Properly
After washing and drying your makeup brushes, it’s essential to store them properly to maintain their shape and cleanliness. To avoid crushing or misshaping the brush bristles, wrap them with mesh covers or store them in a clean brush holder with the bristles facing upwards. As much as possible, avoid leaving brushes in humid environments or exposed to dust, as this can cause bacteria to grow and impact the brush’s integrity. To prolong their lifespan, store your brushes in a cool, dry place away from direct sunlight. Maintaining your tools is important in achieving flawless makeup looks, so don’t forget to keep your brushes clean and stored properly.
The Importance of Regular Cleaning
Regular cleaning of makeup brushes is crucial for healthy skin and optimal makeup application. As mentioned earlier, makeup brushes accumulate bacteria, which can lead to breakout, irritation, and infection. Therefore, it’s essential to clean your brushes at least once a week or spot-clean them daily. Choosing the right cleaner and using the proper technique, such as swirling the brushes in water and rinsing them thoroughly, is equally important. After cleaning, it’s important to dry your brushes properly and avoid leaving them in humid environments. Storing your brushes properly can also help extend their lifespan. Neglecting to clean your makeup brushes can compromise your skin health, makeup results, and overall beauty routine. So, make sure you prioritize brush cleaning as an essential part of your beauty care.
Conclusion
In conclusion, cleaning your makeup brushes is an essential step that should never be overlooked. It not only ensures that your skin remains healthy and free from breakouts, but it also prolongs the lifespan of your brushes, protecting your investment. In this blog, we have covered the importance of regular cleaning, the right choice of cleaner, the steps in washing your brushes, how to dry them properly, and the need to avoid humid environments. By following the guidance and tips provided, you can confidently clean your brushes without damaging them and achieve that perfect, flawless finish every time. So, don’t forget to make cleaning your makeup brushes part of your regular beauty routine. Your skin and brushes will thank you for it.
