
Keeping our floors clean is essential for maintaining a healthy and hygienic living space. However, traditional mop and bucket cleaning methods can be tiring, time-consuming, and often ineffective. Fortunately, spin mops provide a quick and efficient way to clean floors with ease. In this comprehensive guide, we will provide step-by-step spin mop instructions to help you get the most out of your cleaning tool.
Table of Contents
- What is a Spin Mop?
- Benefits of Using a Spin Mop
- Choosing the Right Spin Mop
- Assembly and Setup
- Preparing the Spin Mop for Use
- Using the Spin Mop
- Cleaning and Maintenance
- Common Mistakes to Avoid
- Frequently Asked Questions
- Conclusion
1. What is a Spin Mop?
A spin mop is a cleaning tool that features a rotating head that helps to clean floors quickly and efficiently. Unlike traditional mops that require frequent rinsing, spin mops have a built-in wringer that helps to remove excess water from the mop head, reducing the time and effort required to clean your floors.
2. Benefits of Using a Spin Mop
There are several benefits to using a spin mop, including: ( spin mop instructions)
- Easy to Use: Spin mops are easy to assemble and use, making them an excellent choice for anyone looking for a hassle-free cleaning experience.
- Efficient: With their rotating heads and built-in wringers, spin mops can clean floors quickly and efficiently, saving you time and effort.
- Versatile: Spin mops can be used on a variety of surfaces, including hardwood, tile, laminate, and more.
- Hygienic: Spin mops are designed to remove dirt and grime from floors without spreading bacteria or germs, making them a hygienic choice for cleaning your home.
3. Choosing the Right Spin Mop
When choosing a spin mop, there are several factors to consider, including:
- Size: Spin mops come in a range of sizes, so it’s important to choose one that’s appropriate for your home’s flooring and the size of the area you need to clean.
- Material: Spin mop heads can be made from a variety of materials, including microfiber, cotton, and chenille. Choose a material that’s appropriate for your flooring type and cleaning needs.
- Handle Length: Spin mop handles come in different lengths, so it’s important to choose one that’s comfortable for you to use.
4. Assembly and Setup
Before using your spin mop, you’ll need to assemble and set it up. Here’s how:
- Open the box and remove all the components.
- Attach the mop head to the mop handle according to the manufacturer’s instructions.
- Attach the spin mop bucket to the wringer according to the manufacturer’s instructions.
5. Preparing the Spin Mop for Use
Before using your spin mop, you’ll need to prepare it for use. Here’s how:
- Fill the spin mop bucket with water and cleaning solution according to the manufacturer’s instructions.
- Dip the mop head into the water and wring it out using the built-in wringer.
- Ensure that the mop head is damp but not dripping wet.
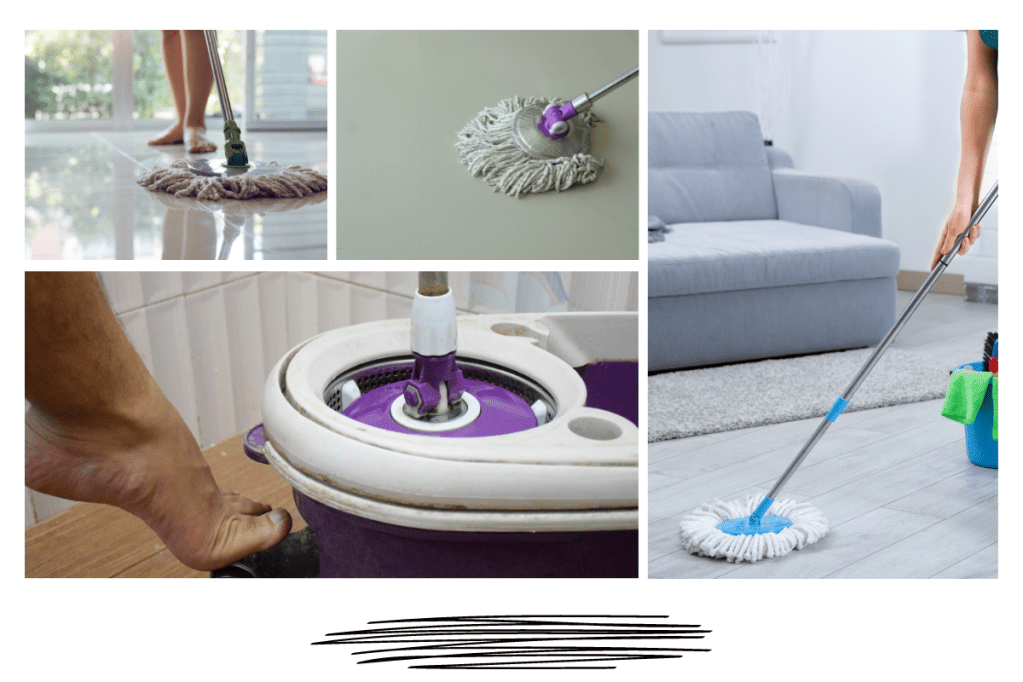
6. Using the Spin Mop
Now that your spin mop is set up and ready to go, it’s time to start cleaning. Here’s how to use a spin mop:
- Place the mop head on the floor.
- Press down on the handle to activate the wringer and remove excess water from the mop head.
- Begin cleaning the floor in a circular motion, starting from the farthest corner of the room and working your way towards the door
- Rinse the mop head in the bucket periodically and wring it out using the built-in wringer.
- Once you’ve finished cleaning, empty the dirty water from the bucket and rinse the mop head thoroughly with clean water.
7. Cleaning and Maintenance
Proper cleaning and maintenance of your spin mop are essential for ensuring its longevity and effectiveness. Here are some tips to keep in mind: (spin mop instructions)
- After each use, rinse the mop head thoroughly with clean water to remove any dirt or debris.
- If the mop head is particularly dirty, wash it in the washing machine according to the manufacturer’s instructions.
- Store the spin mop and bucket in a cool, dry place when not in use.
- Replace the mop head periodically to ensure optimal cleaning performance.
8. Common Mistakes to Avoid
While spin mops are easy to use, there are some common mistakes that people make that can impact their effectiveness. Here are some mistakes to avoid:
- Using too much water: Using too much water can lead to streaks and a longer drying time. Be sure to wring out excess water before using your spin mop.
- Not rinsing the mop head: Failure to rinse the mop head periodically can result in a buildup of dirt and debris, reducing its effectiveness.
- Not replacing the mop head: Using a worn-out mop head can reduce its effectiveness and potentially damage your floors. Be sure to replace the mop head periodically.
9. Frequently Asked Questions
- How often should I replace my spin mop head? (spin mop instructions)
- It’s recommended to replace the spin mop head every three to six months, depending on how frequently you use it and the condition of your floors.
- Can I use my spin mop on carpets?
- Spin mops are designed for use on hard surfaces such as hardwood, tile, and laminate. They are not recommended for use on carpets.
- Can I use any cleaning solution with my spin mop?
- It’s best to use a cleaning solution that’s recommended by the manufacturer of your spin mop to ensure optimal cleaning performance and to avoid potential damage to your floors.
- Can I wash my spin mop head in the washing machine?
- Most spin mop heads can be washed in the washing machine. Be sure to check the manufacturer’s instructions before washing.
- Can I use my spin mop for outdoor cleaning?
- Spin mops are designed for indoor use and are not recommended for outdoor cleaning.
10. Conclusion
In conclusion, a spin mop can be an excellent tool for keeping your floors clean and hygienic. By following these spin mop instructions, you can ensure optimal cleaning performance and longevity of your cleaning tool. Remember to choose the right spin mop for your needs, assemble and set it up correctly, and clean and maintain it properly to ensure it lasts for years to come.
