
If you’re someone who cares about hygiene, you probably have a few sponges lying around your home. But what if you could make your own sponge for cleaning? It’s actually easier than you might think! In this article, we’ll walk you through the items you need to make a sponge for cleaning, step by step. What Items Do You Need To Make A Sponge
Introduction
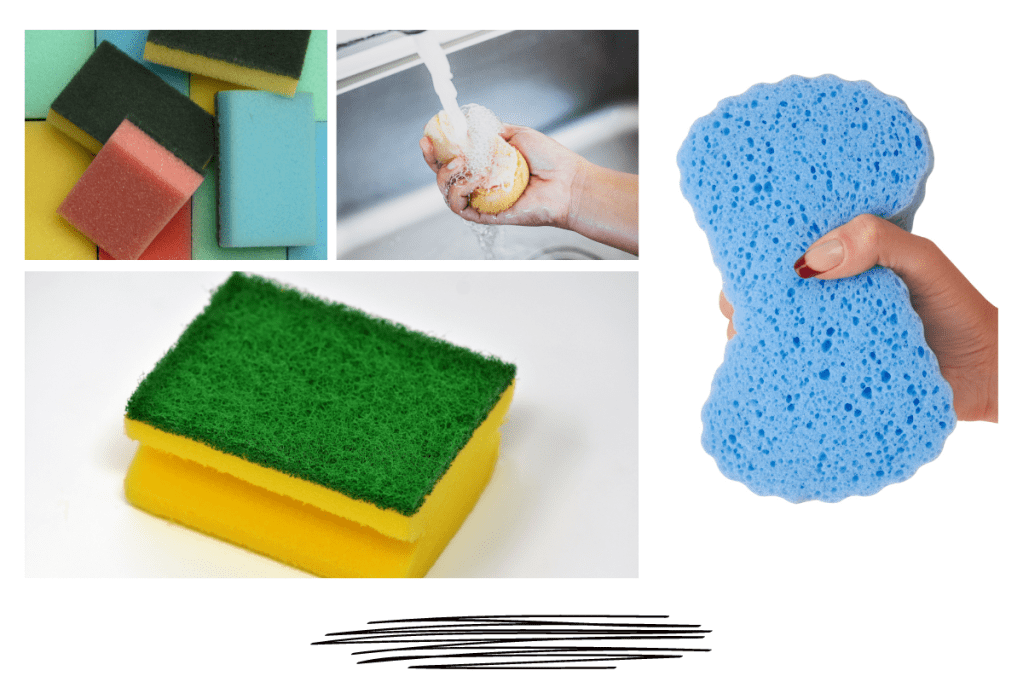
Sponges are an essential tool for cleaning. They help remove dirt and grime from surfaces without causing damage. But have you ever wondered how sponges are made? In this article, we’ll show you how to make your own sponge for cleaning using a few simple items. What Items Do You Need To Make A Sponge
What You Will Need
To make a sponge for cleaning, you will need the following items:
Materials
- Scissors
- Fabric (old clothing or towels work well)
- Elastic bands
- Needle and thread
- Ruler
- Pen or pencil
- Sewing machine (optional)
Steps
Here are the steps you need to follow to make a sponge for cleaning: (What Items Do You Need To Make A Sponge)
Step 1: Cut the Fabric
Using scissors, cut your fabric into a rectangular shape. The size of the rectangle will depend on how big you want your sponge to be. A good starting size is around 8 inches by 6 inches.
Step 2: Fold the Fabric
Fold the fabric in half, with the right sides facing each other. Use pins or clips to hold the fabric in place.
Step 3: Sew the Fabric Together
Using a sewing machine or needle and thread, sew the two sides of the fabric together. Leave one short end open.
Step 4: Turn the Fabric Right Side Out
Turn the fabric right side out by pushing it through the open end.
Step 5: Add Elastic Bands
Cut two small pieces of elastic band, each about 2 inches long. Sew them onto each of the short ends of the fabric.
Step 6: Gather the Fabric
Gather the fabric together by pulling on the elastic bands. This will create a sponge-like shape.
Step 7: Stitch the Ends Together
Stitch the ends of the fabric together to create the sponge shape. Make sure to use a strong stitch so that the sponge will hold its shape.
Step 8: Trim the Edges
Trim any excess fabric from the edges of the sponge.
Conclusion
In conclusion, making your own sponge for cleaning is an easy and inexpensive way to keep your home clean and hygienic. With just a few simple items, you can create a sponge that will last for months. Give it a try and see the difference it makes in your cleaning routine! What Items Do You Need To Make A Sponge
FAQs
- What type of fabric should I use to make a cleaning sponge?
You can use any type of fabric, but old clothing or towels work well.
- Do I need a sewing machine to make a cleaning sponge?
No, you can sew the sponge by hand using a needle and thread.
- How long will a homemade cleaning sponge last?
A homemade cleaning sponge can last for several months with proper care.
- Can I wash a homemade cleaning sponge?
Yes, you can wash a homemade cleaning sponge in the washing machine or by hand.
- How often should I replace my cleaning sponge?
You should replace your cleaning sponge every 2-3 months or when it starts to look dirty or worn out.
Tips for Cleaning with Your Homemade Sponge
Now that you know how to make a sponge for cleaning, here are a few tips to help you get the most out of it:
- Rinse your sponge thoroughly after each use to remove any dirt or debris.
- Hang your sponge to dry after each use to prevent bacteria growth.
- Clean your sponge regularly by soaking it in a mixture of hot water and vinegar for 10-15 minutes.
- Avoid using your sponge on delicate surfaces, such as glass or polished wood, as it may scratch them.
- Replace your sponge every 2-3 months or when it starts to look dirty or worn out.
By following these tips, you can keep your homemade sponge clean and in good condition for longer. What Items Do You Need To Make A Sponge
Benefits of Making Your Own Cleaning Sponge
Making your own sponge for cleaning has several benefits:
- It’s cheaper than buying sponges from the store.
- You can use old clothing or towels, which reduces waste.
- You can customize the size and shape of your sponge to suit your needs.
- You know exactly what materials are in your sponge, which can be helpful if you have allergies or sensitivities.
- It’s a fun and creative project that can be done with kids or as a solo activity.
Overall, making your own sponge for cleaning is a simple and rewarding way to keep your home clean and hygienic. With just a few basic materials and some simple steps, you can create a sponge that will last for months and save you money in the process. What Items Do You Need To Make A Sponge
Conclusion
In conclusion, making a sponge for cleaning is a fun and easy project that anyone can do. By following the steps outlined in this article, you can create a high-quality cleaning sponge using just a few simple items. Whether you’re looking to save money, reduce waste, or just try something new, making your own sponge for cleaning is a great way to achieve your goals. So why not give it a try today?
